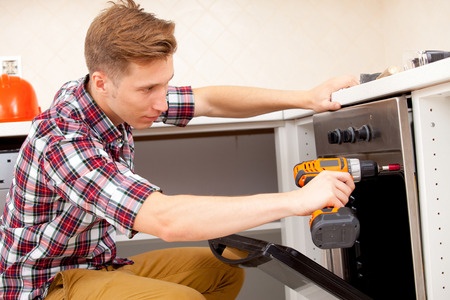
 The appliances we use in our kitchen are an important part of a modern kitchen, and it’s hard to imagine a life without these devices. Today, most homeowners have a stove, oven, refrigerator, and range in their kitchen. They use these appliances to cook and store their dishes. However, like any other residential appliances, these appliances can also malfunction. Repairing these machines is not easy, as they require high voltage checks. If your range is not working, it is best to get a range repairman to rectify the problem. However, there are some problems that you can troubleshoot without professional help. To troubleshoot the problem, you must be able to identify the problem part and replace it with a genuine spare.
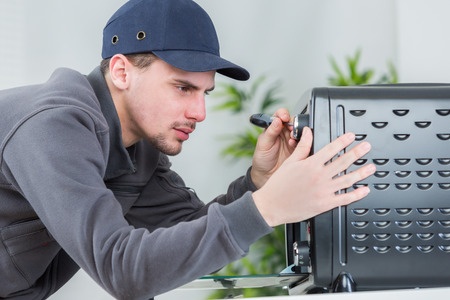
One of the problems you are likely to face with your oven is that it produces little or no heat when baking. To fix this issue, you must have a basic understanding of how the oven functions and details the parts that are likely to cause this problem. In this article, we provide you with useful hints that help in identifying the problem part.
Bake Element
If the oven is producing little or no heat, the first part you must check is the bake element. The bake element is typically located at the bottom of the appliance. The oven uses both broil and bake element to complete the baking cycle. Even though both broil and bake elements are used for baking, the majority of heat is produced by the bake element.
When there is a problem with the bake element, the oven may not provide heat or take longer to reach the desired temperature. Also, the food may burn on the top when the bake element is damaged. To check if the bake element is defective, you must do a visual inspection of the part. If the element is separated or blistered, it means that it is damaged and must be replaced.
If you don’t notice any signs of damage, you must turn on the bake function for a few minutes and turn it off. If the element does not show any evidence of heating, it indicates that the element is defective. To check the condition of the bake element, disconnect the power supply to the machine. You must then remove the back panel and check the wires that connect to the element. If the wires are corroded, you must replace the cables. If there is a loose contact, you must take steps to ensure the wires are connected securely. You must then check the condition of the element. If there are no visual signs of damage, you must check the condition using a multi-meter. If the element is burned or damaged, it will not have any continuity, and it must be replaced.
If there is no problem in the element, you must check the condition of the bake circuit. Since this involves live voltage checks, it must be done by an oven repair service technician. Some of the components that must be tested include fuses, thermostat, and few other electronic controls.
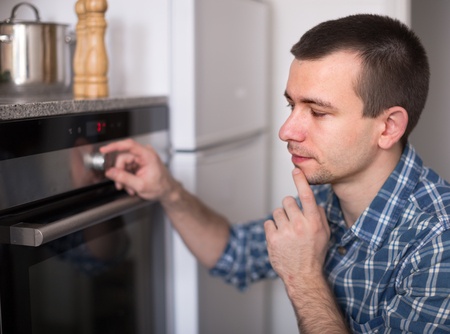
Oven Control Thermostat
The oven control thermostat is a part of the main control board of the machine, and it controls both the bake and the broil element. The thermostat is a temperature controlled switch that has contacts which supply power to the bake and broil element. If the thermostat is damaged, it will produce too much, too little, or no heat at all.
If you notice that bake element is cold or is too hot even when baking cycle is turned on for a few minutes, it indicates that thermostat may be at fault. Before you check the thermostat, make sure you check all other components that are likely to cause this problem. Some controls of the thermostat can be calibrated up to 52 degrees Fahrenheit; however, you will need a thermometer to carry out this task.
The temperature adjustment screws are located on the back of the thermostat. However, if the back of the part is sealed, it indicates that temperature cannot be manually calibrated. Before performing any test or calibrating the thermostat, make sure you remove the power supply to the home appliance. If the bake or broil element does not receive any power, you must check the appropriate contacts of the thermostat for continuity using multi-meter.
Temperature Sensor
The temperature sensor helps in maintaining the temperature inside the oven. When the desired temperature is reached, the sensor signals the electronic controls to turn off the power supply to the broil and bake element. If there is a problem with the sensor, it will produce little or no heat. The sensor can be found near the broil element.
At times, the appliance may display a fault code when the sensor is malfunctioning. If you notice an error code, you can use a multimeter to check the resistance of the part. Before you test the resistance, make sure you disconnect the power supply to the machine.
Electronic Control Board
 The electronic control board is an important part of the oven, as it controls all the essential functions of the appliance. The board not only operates the broil and the bake elements, but other parts that control the temperature inside the machine. If there is no power to the elements, you must check the electronic control board to verify if there is power at the appropriate relays. Since this is a live voltage check, it must be performed by oven repair technician. If there is erratic or no output voltage, then you must replace the electronic control board.
Fuses
Most modern ovens have an internal fuse that will blow up when there is a component or wiring problem. If you notice a blown fuse in the machine, it means that a component has shorted and the problem must be rectified. Ovens that have fuses will have a diagram that indicates the part that affect a particular fuse. If the fuse is blown, you must check the diagram to find out the part you must replace. When replacing the fuse, make sure you don’t change the rating of the fuse.
If these steps don’t help, it is best to get help from a household appliance repair company. These companies have several microwave technicians that will visit your home to repair and service the appliance.
Check out our other service locations in these popular cities:
Middletown appliance repair, Philadelphia oven repair, Provo, Milwaukee, Colorado Springs, Louisville, Richmond, Tucson, Manchester, Henderson, Kansas City, Detroit, Austin, Seattle, Raleigh, Dallas, Charleston range repair, Pittsburgh, San Antonio, Tacoma, Allentown, Olympia, Indianapolis, Las Vegas stove repair, Columbia, Baltimore, Houston, appliance service New York City, Miami, Cleveland, Bowie, Virginia Beach, Oklahoma City, Lakewood, Orlando, Omaha, Jackson, Aurora, Newark, Tallahassee, Chicago, Tampa, appliance repair Los Angeles, San Jose appliance service, Minneapolis, Baton Rouge, Portland, oven repair San Diego, Columbus, Albuquerque, stove repair Charlotte, Everett, Fort Worth, range repair Jacksonville, Phoenix oven service, Silver Spring, Boston, Birmingham, New Haven range service, Little Rock, St. Louis, Sacramento stove service, appliance repair Atlanta GA, Nashville, Billings, Providence, Denver, appliance service San Francisco, Reno City, Salt Lake City, Eugene, Portland
The post How To Fix An Oven With Little Or No Heat When Baking appeared first on OnSite Appliance
 Having a range or oven in the kitchen can help in reducing the time you spend in the kitchen. When the household appliance malfunctions, most people prefer getting help from an oven service technician. Repairing the range or stove can appear to be a big task, but if you know where to look, you can easily repair the machine. If your timer of the oven does not advance, the electronic board of the home appliance is likely to be the cause of the problem.
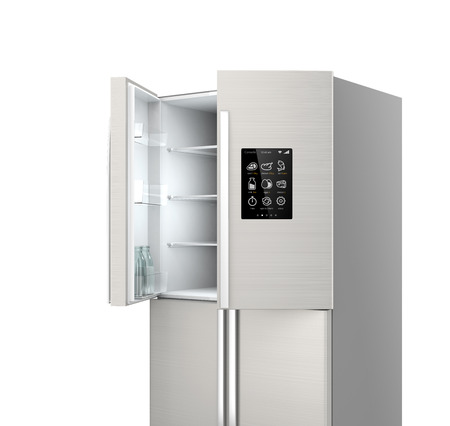 One of the features that are commonly listed in most refrigerator ads is the self-closing doors of the home appliance. The freezer and refrigerator doors have nylon cams that are usually installed in the bottom of the doors and the hinge pin. These nylon cams use the weight of the door to shut it when they are pushed gently. With regular use, these cams can wear out and you can hear a popping or clunking noise when the door opens or closes. When you replace the cams, it will take care of the irritating noise and the residential appliance will close without any problem. The procedure to replace the refrigerator and freezer cam is the same, but there are a few extra steps you may have to take when replacing the freezer door. Here are some steps you should take to replace the cams.
 You must have taken every possible precaution to make sure your food is evenly cooked in the oven. You must have followed the cooking instructions and preheated the oven, yet some parts of the food are still raw while others are overcooked. This happens because the oven is unable to distribute heat evenly.
 When your home dryer does not start, repairing it may seem like a daunting task, but fixing the dryer is not very difficult. The most difficult part of this repair is identifying the problem part. If you don’t want to call a dryer repairman, we have made a list of parts that are most likely to cause this problem. You can use this list to diagnose the problem and take all possible steps to rectify it. Some of the parts that are likely to cause this problem include:
 Most electric and gas dryers have a motor that turns the dryer drum and blower. When there is a problem with the drive motor, the dryer may not start. It may also produce a humming sound, which indicates that switch or winding of the motor is bad. To check the condition of the motor, you must remove the front panel and the drum. You will require supply line voltage to the terminals on the motor to check if it is defective. Since live voltage tests are dangerous, they must be performed by qualified dryer technician.
 If the circuit breaker of the dryer is tripping, this is an indication of a problem in the terminal block. The internal wires of the machine are connected to the power cord by the terminal. When there is a loose connection at the terminal block, it can overheat and fail. In extreme cases, it can lead to fire breakout. You must disconnect the power supply to the machine before accessing the condition of the terminal block. If the terminals are overheating, you must replace the terminal block and damaged wires must be repaired or replaced as well. For complicated dryer repair, contact a professional residential technician to do the repair service for you.
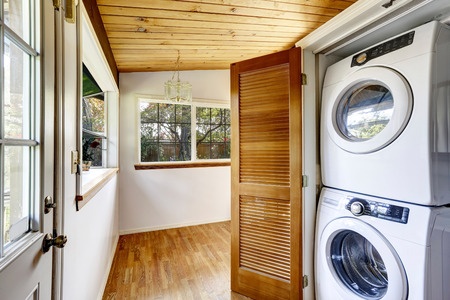
 A dryer that produces less or no heat to dry the clothes can be a frustrating experience. When this household appliance does not function properly, most people prefer calling their dryer service technician. Even though this is one of the most reliable options, it can be expensive to call a
 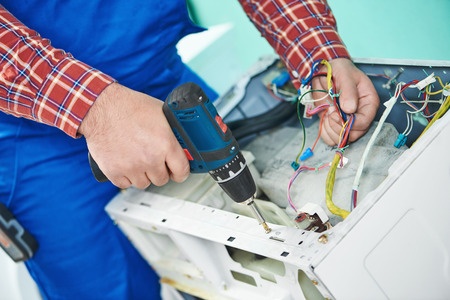 Radiant Flame Sensor
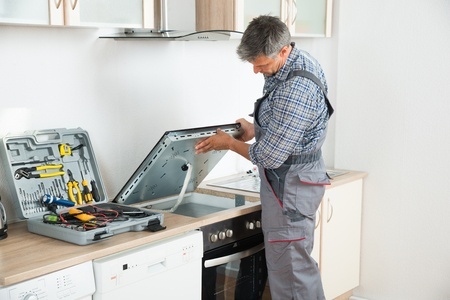
 The range, stove, or oven that you use in your kitchen is the lifeline of your kitchen. Whenever there is a problem with them, it becomes difficult to complete our household chores. At times, these residential appliances may not start or may become too hot. Working with a home appliance that becomes too hot can endanger the life of your loved ones. Ideally, you should call a qualified oven service technician to service or repair the appliance. However, if you do not know a good oven technician in your area, you could attempt oven repair without getting professional help. To repair an appliance, you must first identify the part that is responsible for the problem. Once you identify the part, you must take steps to repair or replace the part. If you plan to buy the damaged part without getting help from a
  This part is usually located in the main control panel of the appliance and it controls the functioning of the broil and bake element. The thermostat is the temperature control switch of the oven, which has contacts that supply power to the elements. When there is a problem with the thermostat, the oven will produce too much, too little or no heat at all. If you notice that there is no heat or excessive heat inside the oven, then the thermostat could be at fault. Before you check the condition of the thermostat, make sure you check the condition of all other components that could be responsible for the problem. Some machine controls can be calibrated by up to 50 degree Fahrenheit, however, to do so, you will need an accurate thermometer.
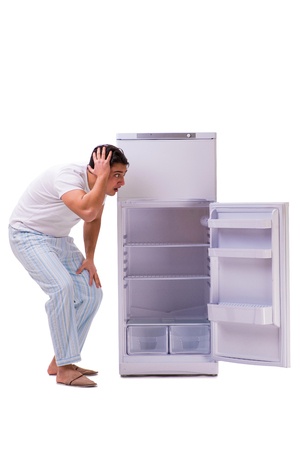 You don’t have to call a
  Dust and Dirt
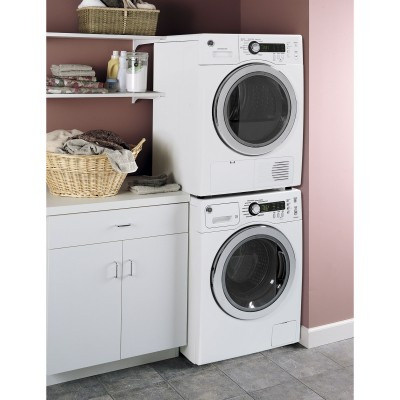
 Loose Hoses